So, I found these really cute lace nails on pinterest yesterday!
and I decided to do it, and take pictures along the way to show you how to make them!!
First, I bought some lace from Michaels, it comes as a ribbon
It was about 3 dollars with the coupon.
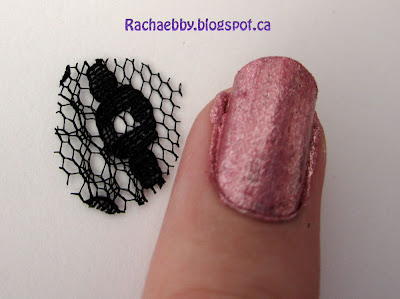
And then I cut out a rough nail shape from it with sharp fabric scissors
I painted my base colour on my nail that I wanted to show through--Pink in this case!! and then applied a clear coat as a base glue to glue it on. Then I pressed the lace down all around my nail neatly and made sure it was all stuck to my nail. Some parts wanted to stick up, so be patient!
Then trim off the excess with sharp precision scissors
And then apply a generous few coats of the clear coat again to really stick it on!!
Mine is the Revlon colour called Natural--it works great!
and tada!!! I just did one nail because... well.. I didn't have the patience to do all of them last night hahaha. But its super cute and really fun!! Pretty easy too, just takes a bit of patience!
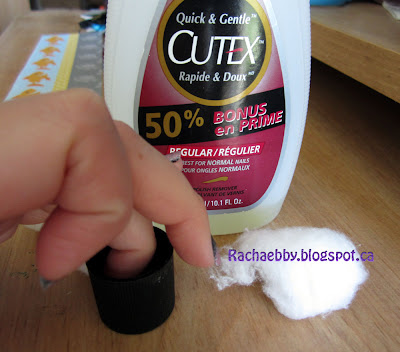
And then to take it off, I filled my nail-polish remover cap with the remover and held my lacey finger in there for about 30 seconds and it peeled right off--so no big deal!!
The lace feels so neat on your nail--I couldn't stop touching it and feeling it and playing with it, hahaha and it stayed on there pretty good! It would have lasted probably at least a week on there. It wasn't snagging on anything at all.
Let me know how you did your nails and if you'd like to see a tutorial on anything else!
Rachael


No comments:
Post a Comment